Quarantine Bread v0.1
After experiencing relative success baking cookies I figured making quarantine bread was the logical next step. I’m surprised it took me 38 days of quarantine before succumbing to making bread :P
I chose a French sourdough given the relative simplicity, simple ingredients, and short time from raw ingredients to final result (about 3 hours!).
Tools
- Scale (could be replaced by converting units)
- Large mixing bowl (could be replaced with large clean pot)
- Tea towel (could be replaced with normal towel, clean tshirt or whatever)
- Mixing spoon (could be replaced with normal spoon)
- Oven (convection is probably better conventional works too)
- Two oven mitts (could be questionably replaced…)
- Parchment paper (highly recommended but not absolutely necessary)
- Dutch oven (can be replaced with an all metal aluminum or cast iron pot, make sure to close any overflow/air holes on the lid using tinfoil)
- Drying rack (not necessary but can be helpful for cooling stage)
Ingredients
- ~400g of all purpose flour (~3.5 cups)
- 300g warm water (~1.25 cups)
- 10g salt (~1.7 teaspoons)
- 9g active dry yeast (was ~2 packets for me)
- 4g brown sugar (~1 teaspoon) (white sugar works too)
Outline
Making the bread is split up into three stages of work and five stages of waiting. The total work time is approximately 15 minutes, total waiting time is about 2.5 hours.
- Proofing and Mixing (~10 minutes)
- First rise (1 hour)
- Shaping (~5 minutes)
- Second rise and pre-heating (30 minutes)
- First bake (30 minutes)
- Second bake (~15 minutes)
- Cooldown (30 minutes)
Proofing and Mixing
- Add 300g of warm water, should be warm to touch but not burning, to the mixing bowl
- Add yeast and sugar
- Let sit for 5 minutes, should smell yeasty and look foamy at the end
- Add all the salt
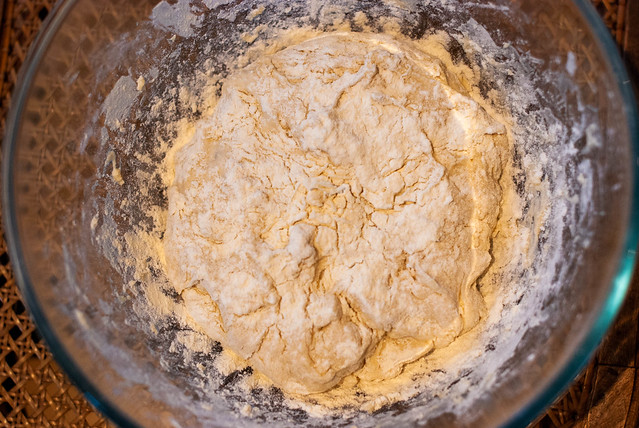
- Add 315g of flour (~2.5 cups) in increments of about 100g, mixing with the mixing spoon gently. Making sure that at every increment you mix it so that no dry flour remains visible. Make sure to use the spoon to scrape the sides of the mixing bowl.
- Sprinkle flour all around the dough to make sure that all the edges have a light coat of flour (~30g of flour)
First rise
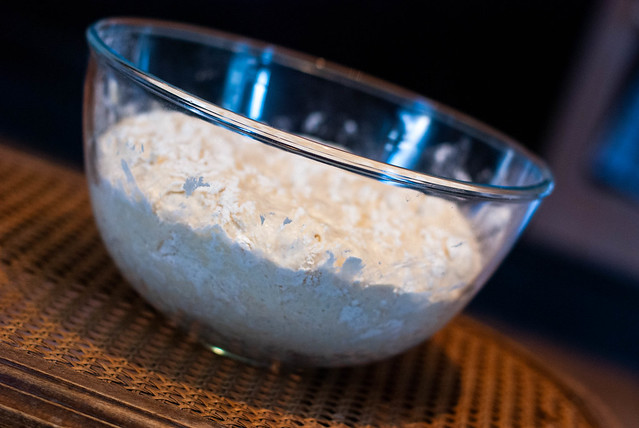
- Cover the bowl with your towel
- Let it rise for 1 hour
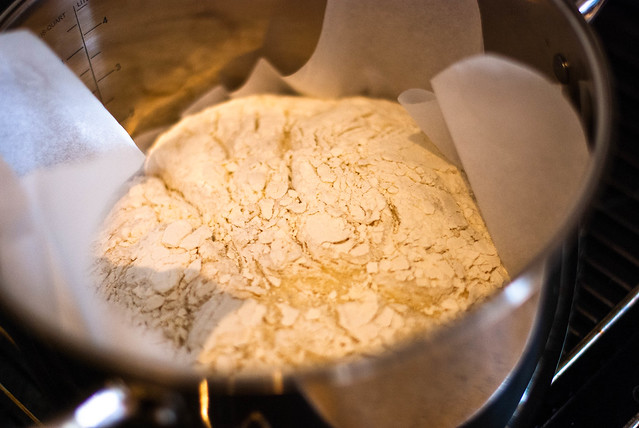
Shaping
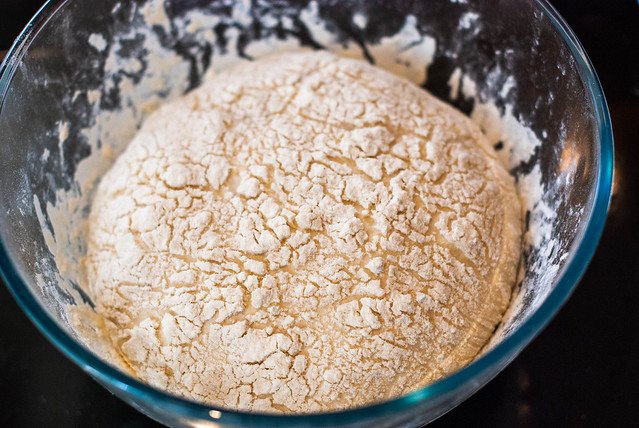
- After 1 hour, the dough should be significantly bigger
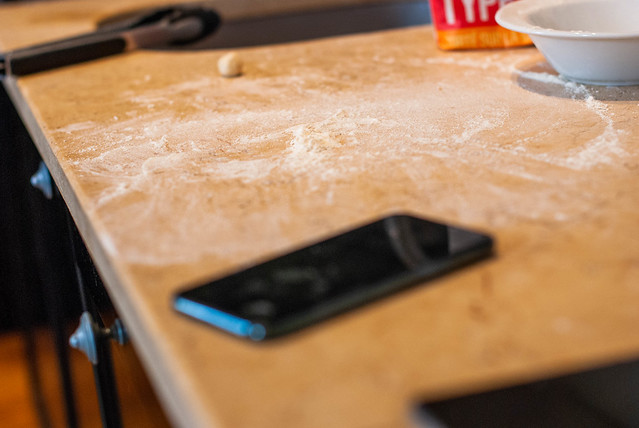
- Prepare your working area by creating an area (~30cm x ~30cm) with a thin layer of flour
- Slowly let your dough fall out of your bowl unto your area (you might have to pull from the sides if it gets sticky, can use more flour to try to get it off). Be gentle, you don’t want to flatten the dough or lose too many of the bubbles produced by the yeast
- Start gently grabbing the dough from the edges along the bottom and bringing it in as if you were folding a corner of paper. Go all around the dough. You should have lots of folds after this process.
- Lightly sprinkle some flour on this side and flip over the dough
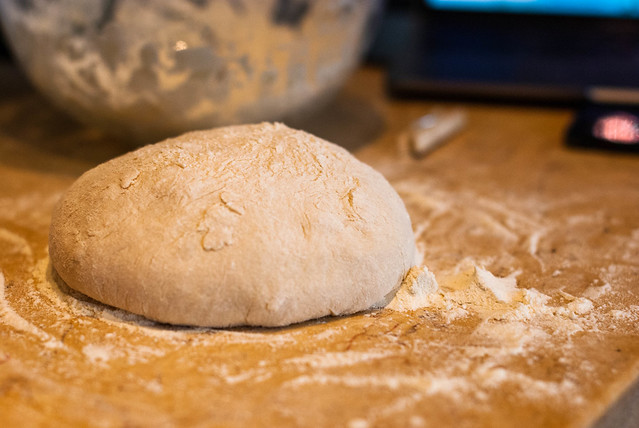
- Rotate the dough with your hands while shaping it to be as spherical as possible
- Lightly sprinkle some flour on the edges and top, we want all edges to have a thin coating of flour
- Lightly coat more flour in the mixing bowl, remove any wet left-over dough on the bowl
- Place your dough the side of the folds face down back in the mixing bowl
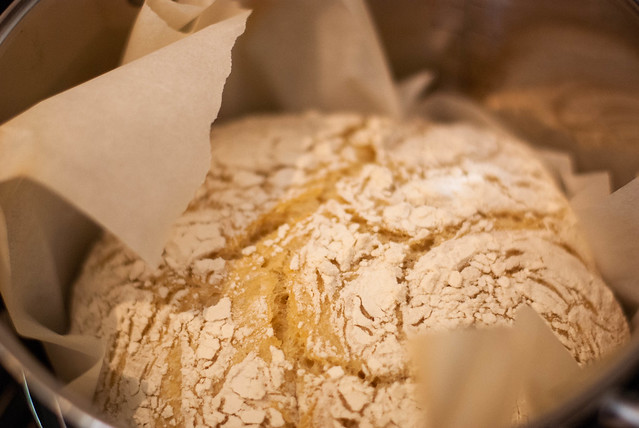
Second rise
- Cover the bowl with your towel
- Let it rise for 30 minutes
- While it rises, place your dutch oven with its lid in your oven
- Preheat your oven to 240C, note: if you have a convection oven use the convection fan to ensure that your oven has an even distribution of heat, if you don’t have a convection oven make sure to use a mode that turns on the heat from both below and above.

First bake
- Measure parchment paper that is at least twice as long, preferably three times, as the diameter of your pot
- Place your dough with the side of the folds facing up, easiest way is to place the center of parchment paper over your mixing bowl and flip it over
- Put on your oven mitts and use the corners of the parchment paper to grab the dough and parchment paper and carefully lower it into the dutch oven (don’t forget it’s 240C at this point, do not touch the metal)
- Place the closed pot into your oven
- Bake for 30 minutes
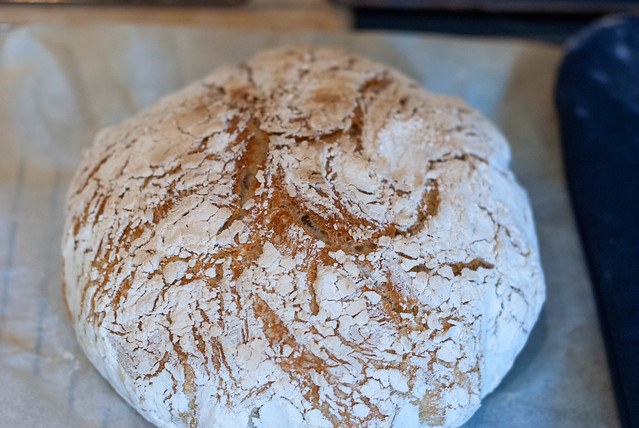
Second bake
- Using your oven mitts remove the lid of the dutch oven
- Bake for another ~15 minutes (can see through your oven to see the browning of the crust and take it out some 5 minute earlier if you’re satisfied or leave it another 5 minutes for more crusty crust)
I forgot to take a picture of the dough right after the second bake…

Cooldown
- Using your oven mitts remove the dutch oven and place it on a heat-safe surface (cork or towel or stove-top)
- Take out the bread by the parchment paper and place it on a drying rack (or anywhere really)
- Let it cool for 30 minutes (hardest part is waiting at this point)

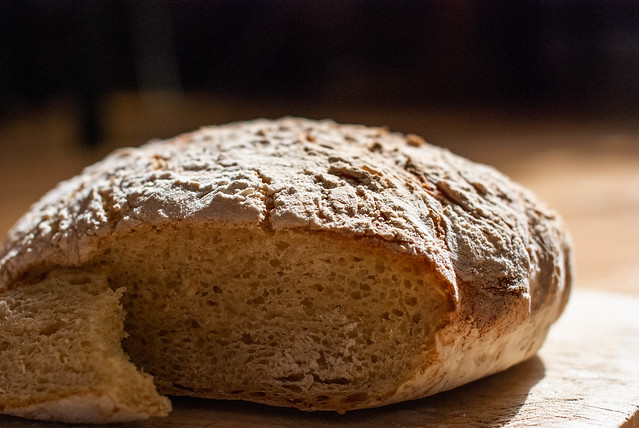
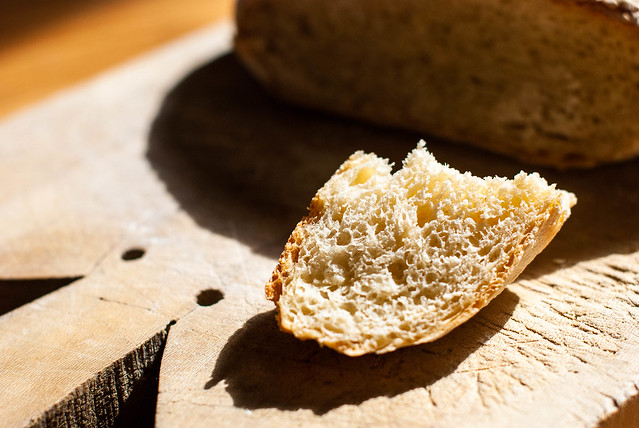
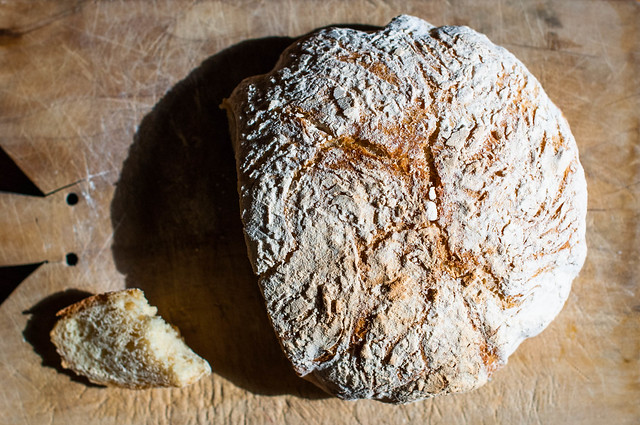
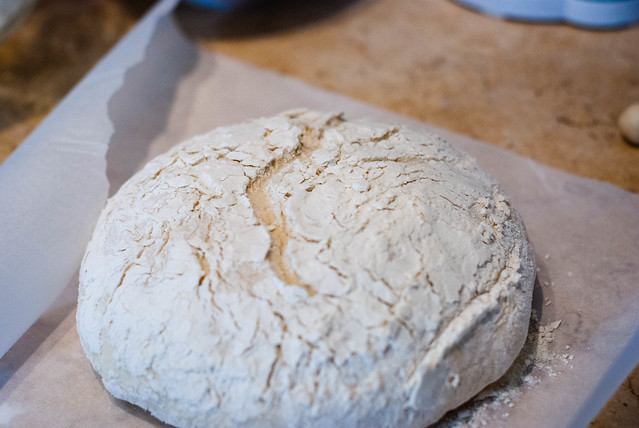
Voilà !
And now we’re ready to cut and enjoy! Don’t forget to take some pictures ;)